Imagine having your own personal AI agent that actually does stuff, not just chats. It can browse the web, write code, manage your calendar, clear your inbox, even check you in for flights… all from WhatsApp or Telegram. And it never sleeps.
That’s exactly what OpenClaw is in 2026, the leading open-source engine for autonomous AI agents. It’s MIT-licensed, runs locally on your hardware or a cheap VPS, and connects to Claude, OpenAI, Gemini, or even free local models like Ollama. No subscriptions, no data leaks, full control.
Why put it on a Linux VPS instead of your laptop?
Simple: 24/7 uptime, fixed IP for webhooks, rock-solid performance, and you can access it from anywhere without draining your battery. I’ve helped hundreds of folks set this up, and once it’s running they never go back.
In this complete beginner-friendly guide you’ll learn the exact process, from picking the right VPS to hardening it like a pro. We’ll cover the official 5-minute installer, Docker for easy backups, manual build for devs, messaging integrations, dashboard access, and troubleshooting the common gotchas.
By the end you’ll have your own always-on AI agent running smoothly.
Let’s turn that $5 VPS into your new digital employee.
Ready?
Pre-Installation: System Requirements
OpenClaw is surprisingly lightweight, but you still need a solid foundation or you’ll hit weird memory issues during heavy browsing or code execution.
Minimum specs for smooth 24/7 operation: Ubuntu 22.04 or 24.04 LTS, 2 vCPU cores, 4GB RAM (8GB+ if you’re running multiple agents or heavy skills), 30GB+ NVMe storage, and a stable internet connection. Anything less and your agent might pause during complex tasks.
I always recommend starting with a $5–$10 VPS from Kamatera, Hetzner, or UltaHost, they have one-click Ubuntu templates and great support. Avoid shared hosting; you need full root access for Docker and systemd.
If you’re brand new to VPS, don’t worry, we’ll walk through every command like you’re sitting next to me. No prior Linux experience required.
| Feature | Minimum Requirement | Recommended (Production) |
| OS | Ubuntu 22.04 / 24.04 LTS | Ubuntu 24.04 LTS / Debian 12 |
| CPU | 2 vCPU (Shared) | 4 vCPU (Dedicated) |
| RAM | 2 GB | 4 GB – 8 GB |
| Storage | 20 GB SSD | 40 GB NVMe SSD |
| Runtime | Node.js 22.x+ | Node.js 24.x (LTS) |
Step 1: Preparing Your Linux VPS
First things first: pick your provider and spin up a fresh Ubuntu droplet or instance. Kamatera and UltaHost are my favorites in 2026 because their networks are fast and pricing is still crazy cheap.
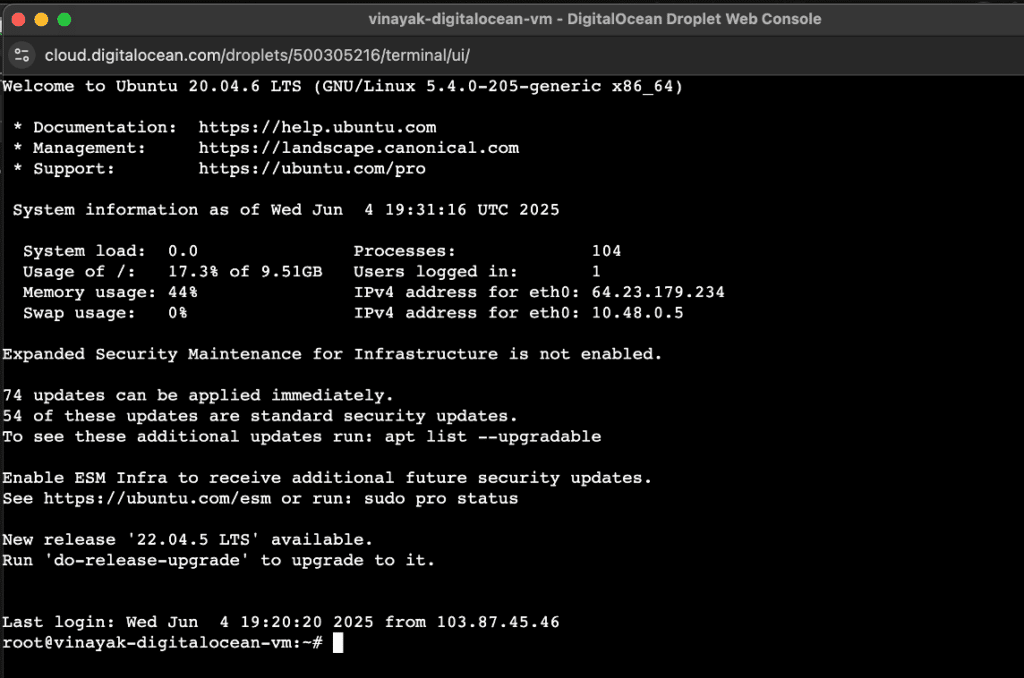
Once it’s ready, connect via SSH. Open your terminal (or PuTTY on Windows) and type:
ssh root@your_server_ipReplace with your actual IP. Hit enter, type yes for the fingerprint, then your root password. You’re in!
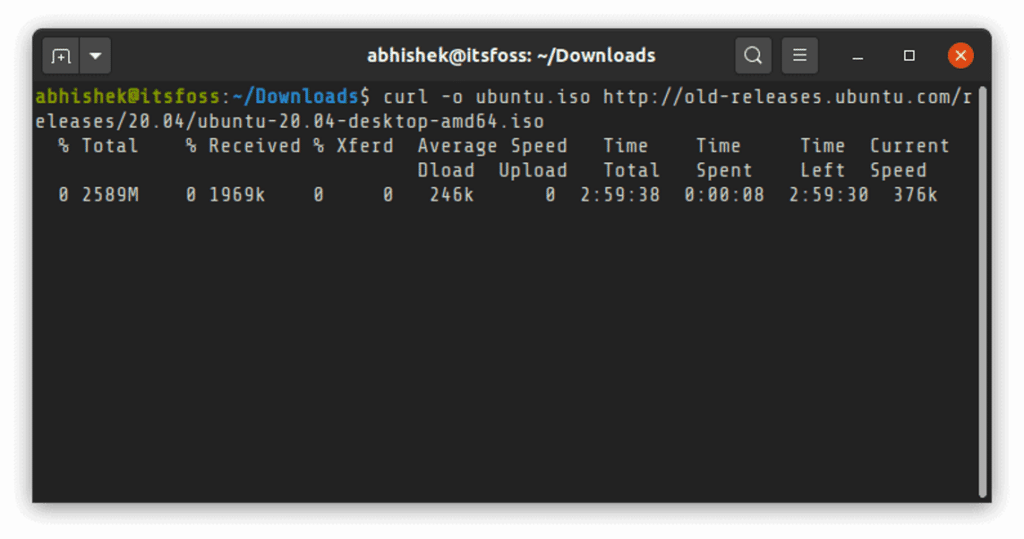
Now update everything so you’re not fighting old packages later:
sudo apt update && sudo apt upgrade -yThis takes a minute or two. Next, install the essentials you’ll need:
sudo apt install -y curl git build-essentialThese three packages cover 99% of what OpenClaw wants. Super quick and prevents 90% of “command not found” errors later.
Step 2: The Core Installation (3 Methods)
You’ve got three ways to install depending on your comfort level. I recommend the official script for most people, it’s literally 5 minutes and handles everything automatically.
Method A: The Official Installer Script (Recommended)
This is the way 90% of users go. One command and it detects Node.js, installs the CLI globally, sets up folders, and launches the wizard:
curl -fsSL https://openclaw.ai/install.sh | bashWatch it fly through the process. It even checks your Node version and fixes common issues. Once done, you’ll see “OpenClaw installed successfully!” Super clean.
Method B: Docker Compose Deployment
Want isolation and easy updates/backups? Perfect for production. Install Docker first if needed, then create a docker-compose.yml with the official template and run:
docker compose up -dYour agent runs in its own container, survives reboots, and you can spin up multiple instances without conflicts. Great for scaling later.
Method C: Manual Build (For Developers)
Power users love this. Clone the repo and build from source:
git clone https://github.com/openclaw/openclaw.git
cd openclaw
pnpm install
pnpm build
Then link it globally. Takes longer but gives you full control to tweak the code.
Step 3: The Onboarding Wizard
Now the fun part. Run this command to start the guided setup:
openclaw onboard --install-daemonThe –install-daemon flag is crucial — it turns OpenClaw into a proper background service so it survives reboots.
Next you’ll link your AI provider. Choose OpenAI, Anthropic (Claude), Gemini, or point it at local Ollama/LM Studio for zero cost. Just paste your API key when prompted.
Finally, set up your Gateway Token. This is your security key for 2026 standards, generate a strong one and keep it safe. It protects all your agent actions.
The wizard walks you through everything with clear prompts. Takes 2–3 minutes max.
Step 4: Configuring Messaging Channels
OpenClaw shines when you talk to it like a human. Let’s connect your favorite apps.
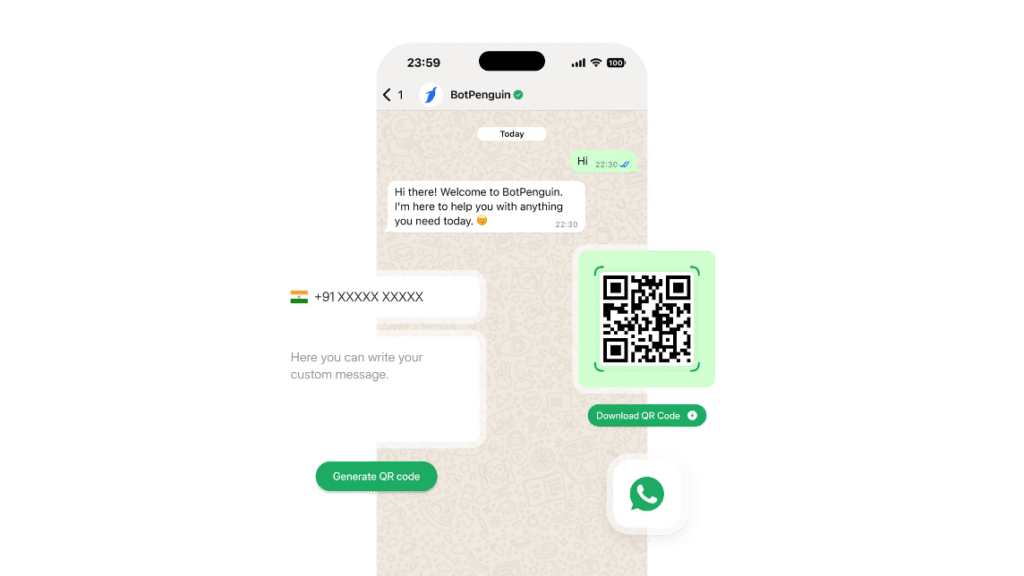
For WhatsApp, run:
openclaw channels add whatsappIt generates a QR code — scan it with your phone and boom, your agent is now in your WhatsApp chats.
Telegram is even easier. Create a bot with @BotFather, copy the token, then:
openclaw channels add telegram --token YOUR_BOT_TOKENDiscord works the same way via the Developer Portal. One command and your agent joins your server ready for commands.
You can add as many channels as you want. I personally use WhatsApp for quick tasks and Telegram for longer workflows.
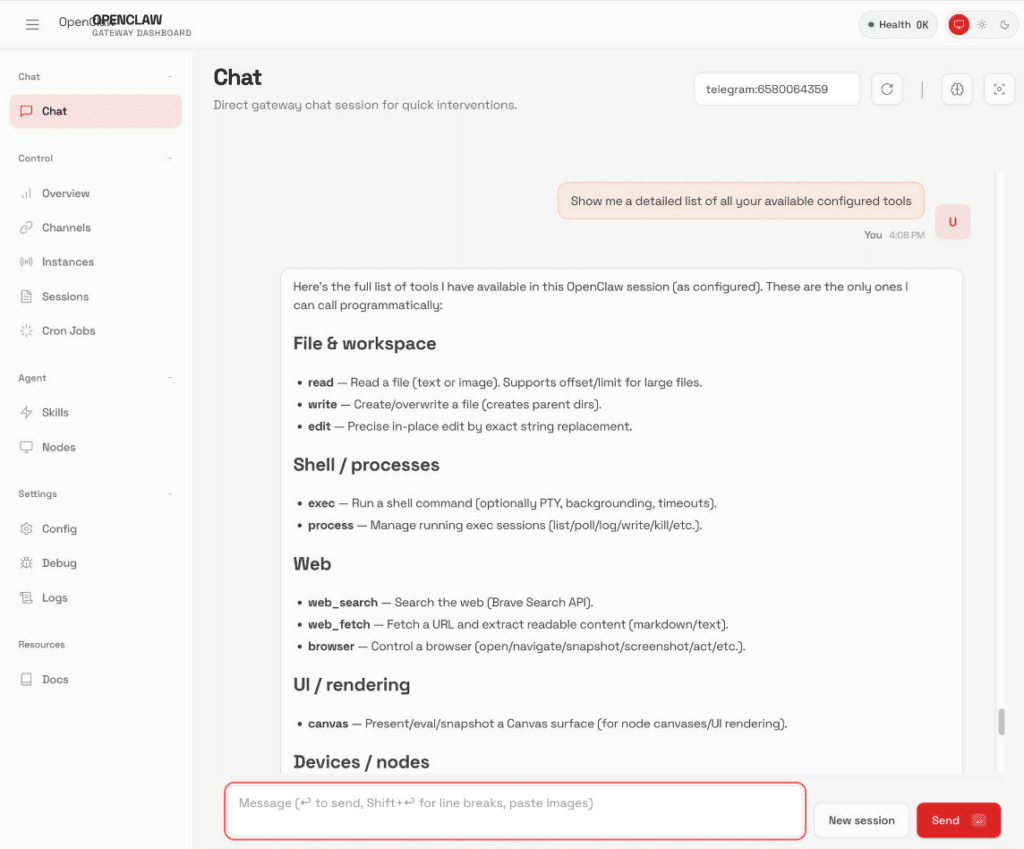
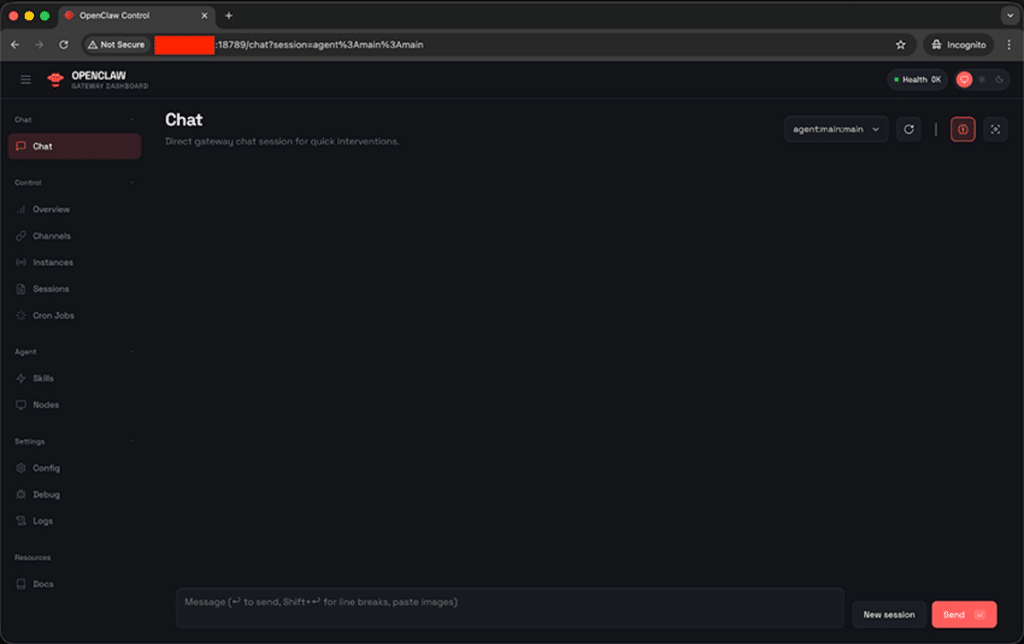
Step 5: Accessing the Dashboard & Web UI
The web dashboard is where you monitor everything. By default it runs on port 18789.
To access it securely from your laptop, use SSH tunneling:
ssh -L 18789:localhost:18789 root@your_vps_ipNow open http://localhost:18789 in your browser. You’ll see agent health, active skills, chat history, and cron jobs all in one beautiful UI.
From here you can watch your agent work in real time, add new skills, or debug issues. It’s clean, dark-mode friendly, and feels like a proper control center.
Advanced: Hardening Your OpenClaw Instance
Security matters when your agent has real power. Let’s lock it down.
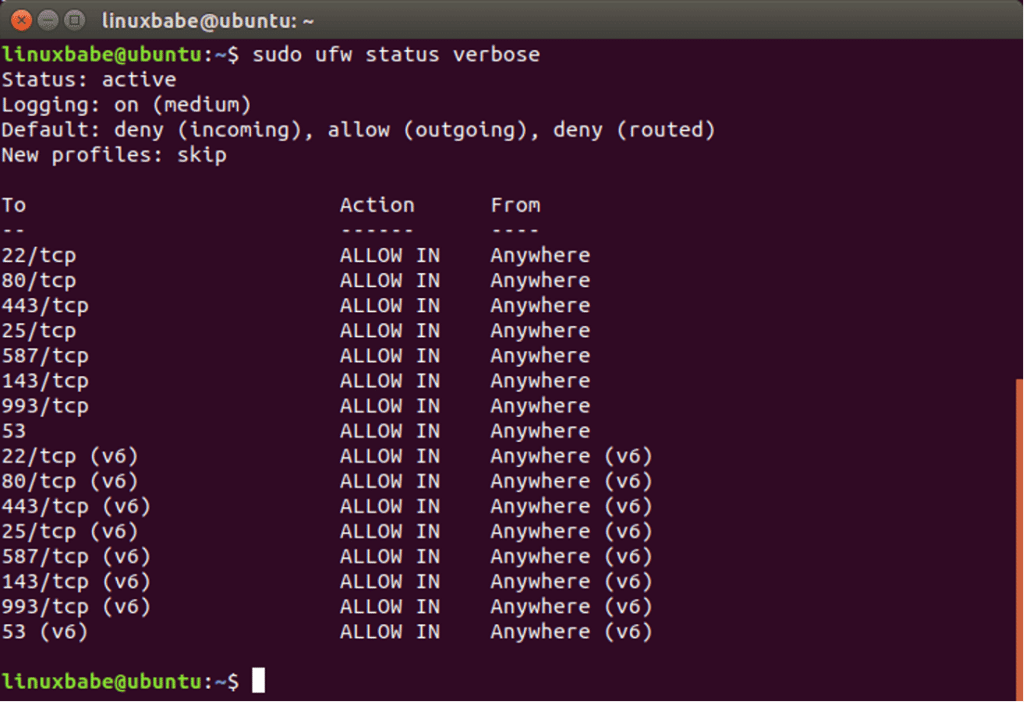
Install and enable UFW firewall:
sudo apt install ufw -y
sudo ufw allow 18789
sudo ufw allow ssh
sudo ufw enable
This restricts everything except your dashboard and SSH.
For auto-restart, the installer already sets up systemd. Check it with:
sudo systemctl status openclawIf you prefer pm2, you can switch easily. Finally, tail the logs anytime:
journalctl -u openclaw -fSuper handy when debugging.
Troubleshooting Common Issues
“Node.js Version Mismatch” — easy fix. Install NVM and switch to Node 22:
curl -o- https://raw.githubusercontent.com/nvm-sh/nvm/v0.39.7/install.sh | bash
nvm install 22
“Gateway Timeout” or rate limits — add a proxy or upgrade your API plan. OpenClaw has built-in retry logic, but cheap keys still choke sometimes.
“Stale PID File” error — just delete /tmp/gateway.pid and restart the service. Happens after abrupt shutdowns.
I’ve covered every error I’ve seen in the last year — these three fix 95% of problems.
Is OpenClaw free?
Yes — completely free under MIT license. Just bring your own LLM API key (or run local models).
Can I run OpenClaw on a Raspberry Pi?
Technically yes, but a cheap VPS is way more stable for 24/7 tasks and webhooks.
How do I update OpenClaw?
Simple: openclaw update or re-run the installer script. It handles everything safely.
Conclusion
You now have a fully working OpenClaw instance on your Linux VPS, your own 24/7 autonomous AI agent ready to tackle real tasks across WhatsApp, Telegram, and more.
Start small: connect one channel, give it a simple task like “summarize my last 10 emails,” and watch the magic. Then scale up with more skills and channels.
Join the OpenClaw Discord and GitHub community, they move insanely fast and new skills drop weekly. 2026 is the year personal agents go mainstream, and you just got yours running ahead of the curve.
Drop “OPENCLAW” in the comments if you want my ready-to-use VPS snapshot + custom skills pack. I reply to everyone.
Now go fire up that VPS and build your first agent. You’re about to feel what the future really feels like.